Search Result
Chip positioning visual system
The Boming chip positioning visual inspection equipment can perform full-size detection of wafer probes, chip round holes, and outer R corners, ensuring that unqualified and defective chips are screened out, effectively ensuring the smooth progress of the assembly process of probes and modules, and modules and bases. Its accuracy can reach up to 0.7μm.
More +
Screw machine positioning guide system
The Boming screw machine positioning system analyzes products requiring fastening by taking photos. After identifying the screw holes, it uses visual positioning and correction to establish the relationship between the screws and holes, guiding a multi-axis robot to the specified coordinates to automatically complete the screw fastening process. Products can be efficiently changed simply by modifying the positioning points.
More +
AI Deep Learning Algorithm Platform
Boming AI deep learning algorithm platform easily handles AI industrial vision detection. Offline packages can be generated with one click and quickly deployed to the production line. Identification is fast and accurate, suitable for various complex appearance detection, segmentation, texture and material classification, and deformation-unstable feature location. Through the visualized training process, the training progress can be observed in real time to meet various market application needs.
More +
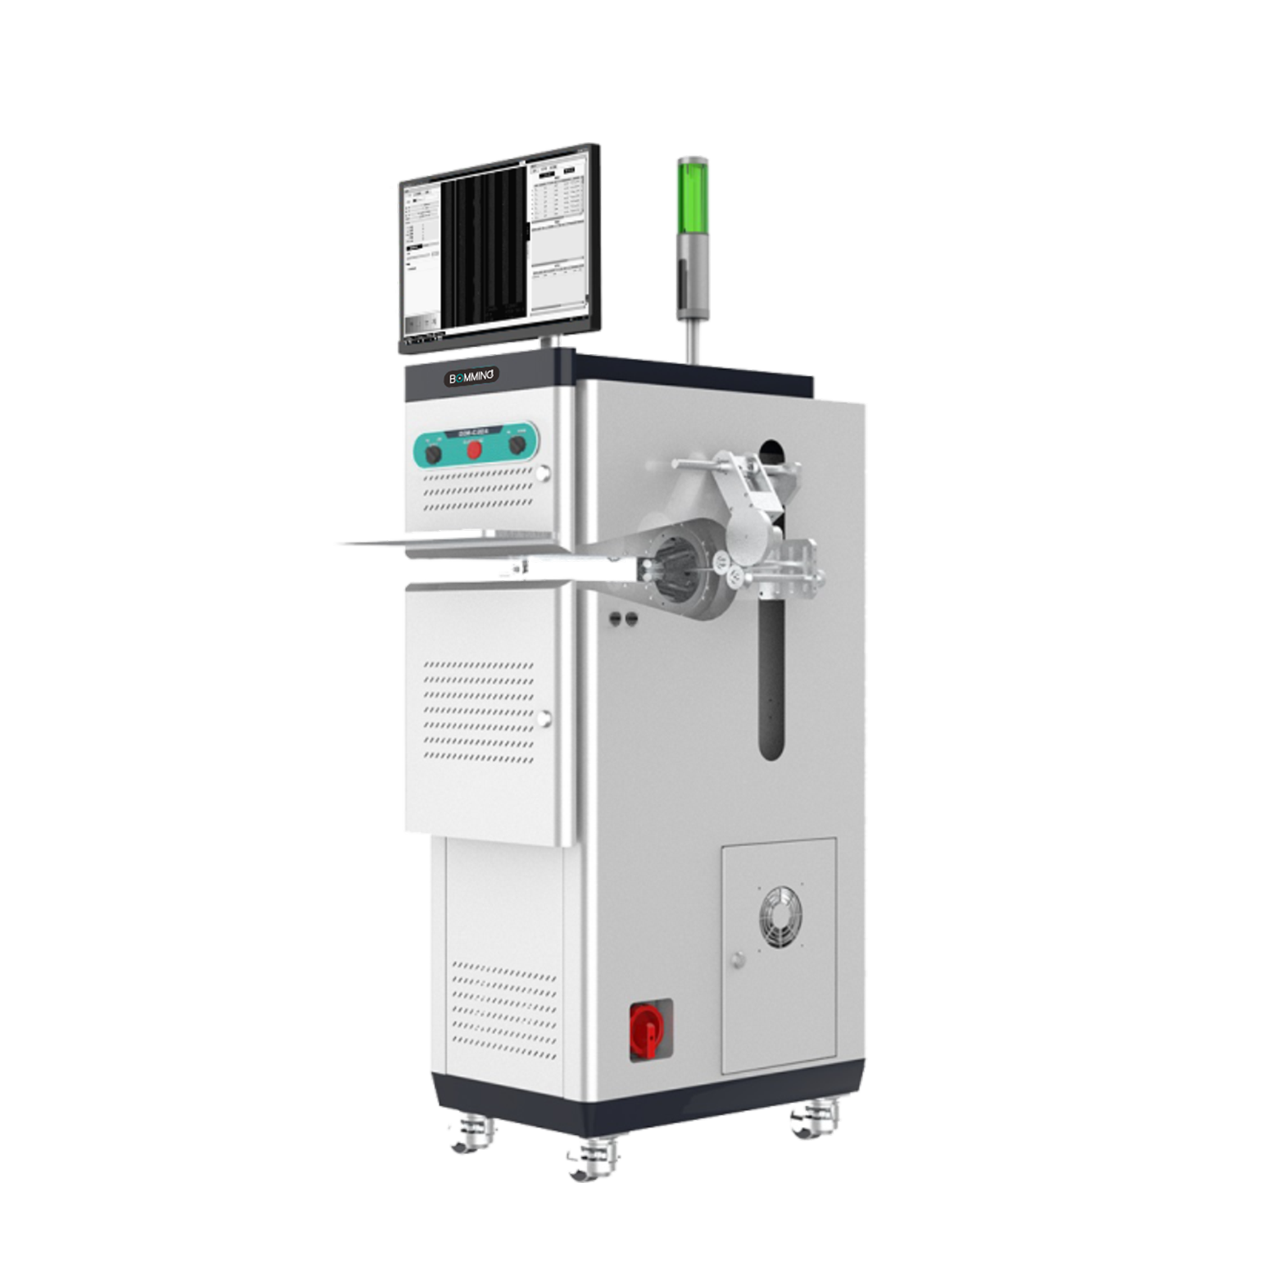
High-end surface defect detector
1. Real-time online monitoring of quality anomalies replaces manual re-inspection, reducing redundant processes;
2. High-speed line scan cameras are used, with a maximum matching speed of 180m/min, which is the basis for achieving high-speed production and indirectly increases output;
3. The machine can act as a terminal to upload data to the central server or allow MES systems and others to read data;
4. It can serve as a server for other detection equipment (such as roughness meters, diameter meters, etc.) for data storage and visualization;
5. It can be equipped with our company's defect marking module to assist in locating defects and improve repair speed;
6. AI algorithm software can be optionally added to achieve automatic defect classification;
7. Higher performance.
Functional scope:
1. Diameter change monitoring;
2. Outer sheath surface defect detection;
3. Data query, traceability and quality reporting;
4. Alarm prompts;
5. Communication with the background of roughness meters, diameter meters, and inkjet printers;
6. Visualization of quality anomalies.
More +
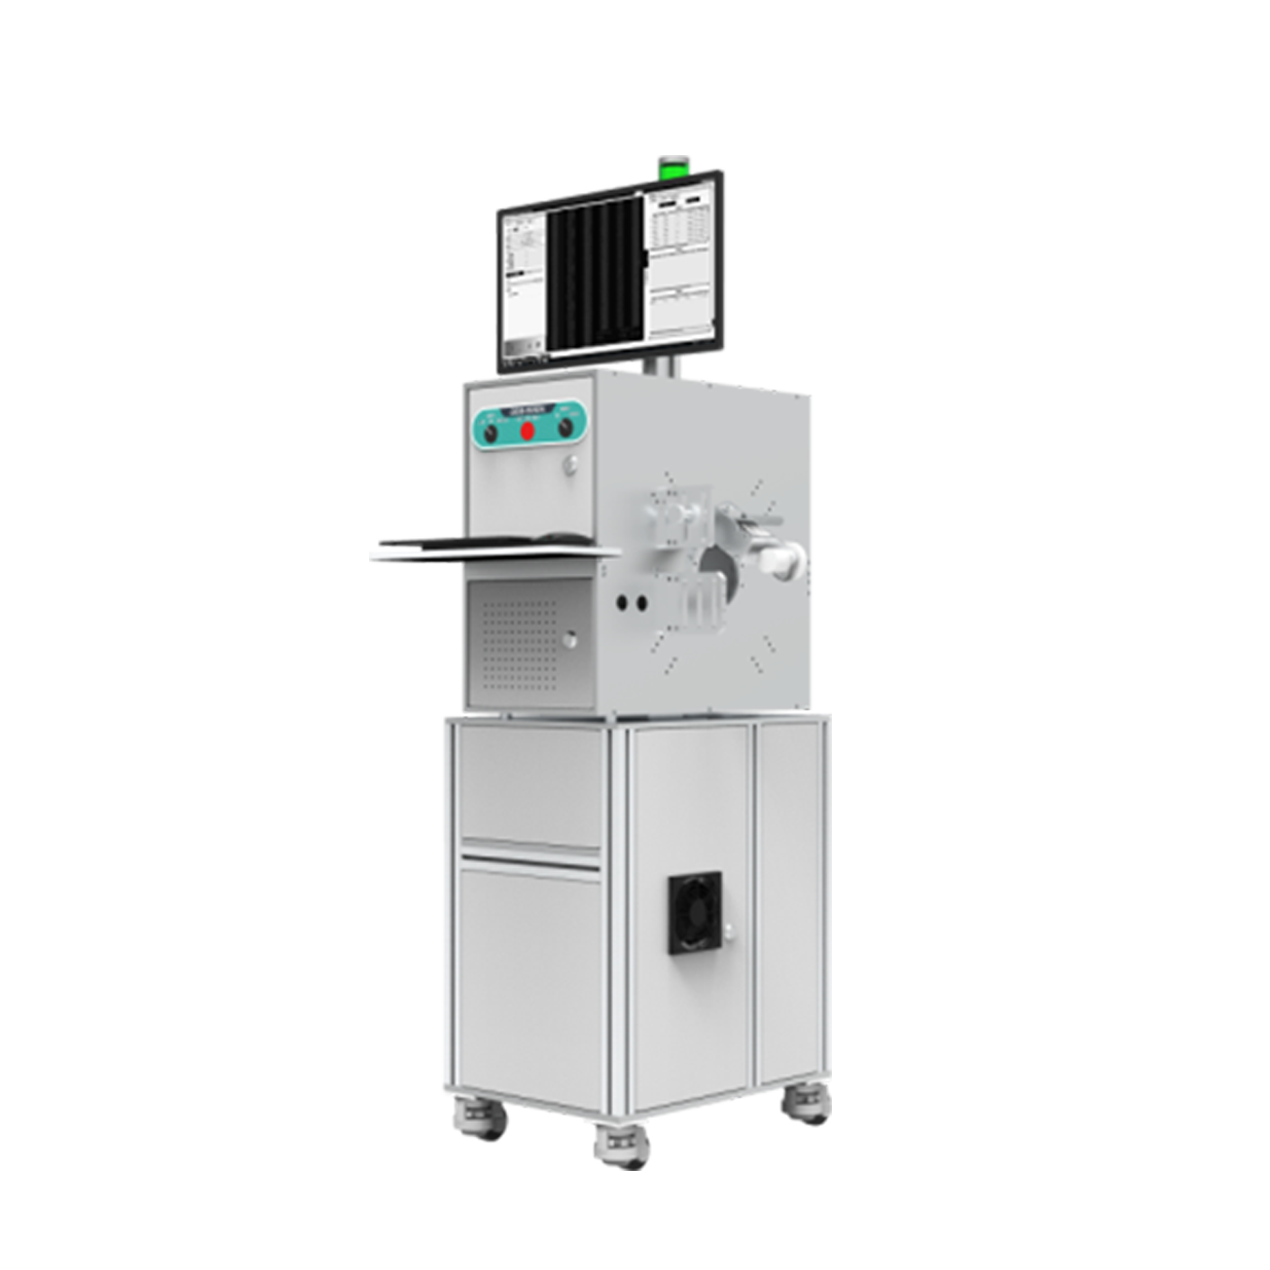
Customized surface defect detector
1. Real-time online monitoring of quality anomalies replaces manual re-inspection, reducing redundant processes;
2. High-speed line scan cameras are used, with a maximum matching speed of 180m/min, which is the basis for achieving high-speed production and indirectly increases output;
3. The machine can act as a terminal to upload data to a central server or allow data to be read by MES systems, etc.;
4. It can act as a server for other detection equipment (such as roughness meters, diameter measuring instruments, etc.) for data storage and visual display;
5. It can be used with our company's defect marking module to assist in locating defects and improving repair speed;
6. AI algorithm software can be optionally installed to achieve automatic defect classification;
7. Flexible optical environment, compatible with a variety of products.
Functional Scope:
1. Diameter change monitoring;
2. Outer sheath surface defect detection;
3. Data query, traceability, and quality reporting;
4. Alarm prompts;
5. Backend communication with roughness meters, diameter measuring instruments, and inkjet printers;
6. Visualization of quality anomalies.
More +
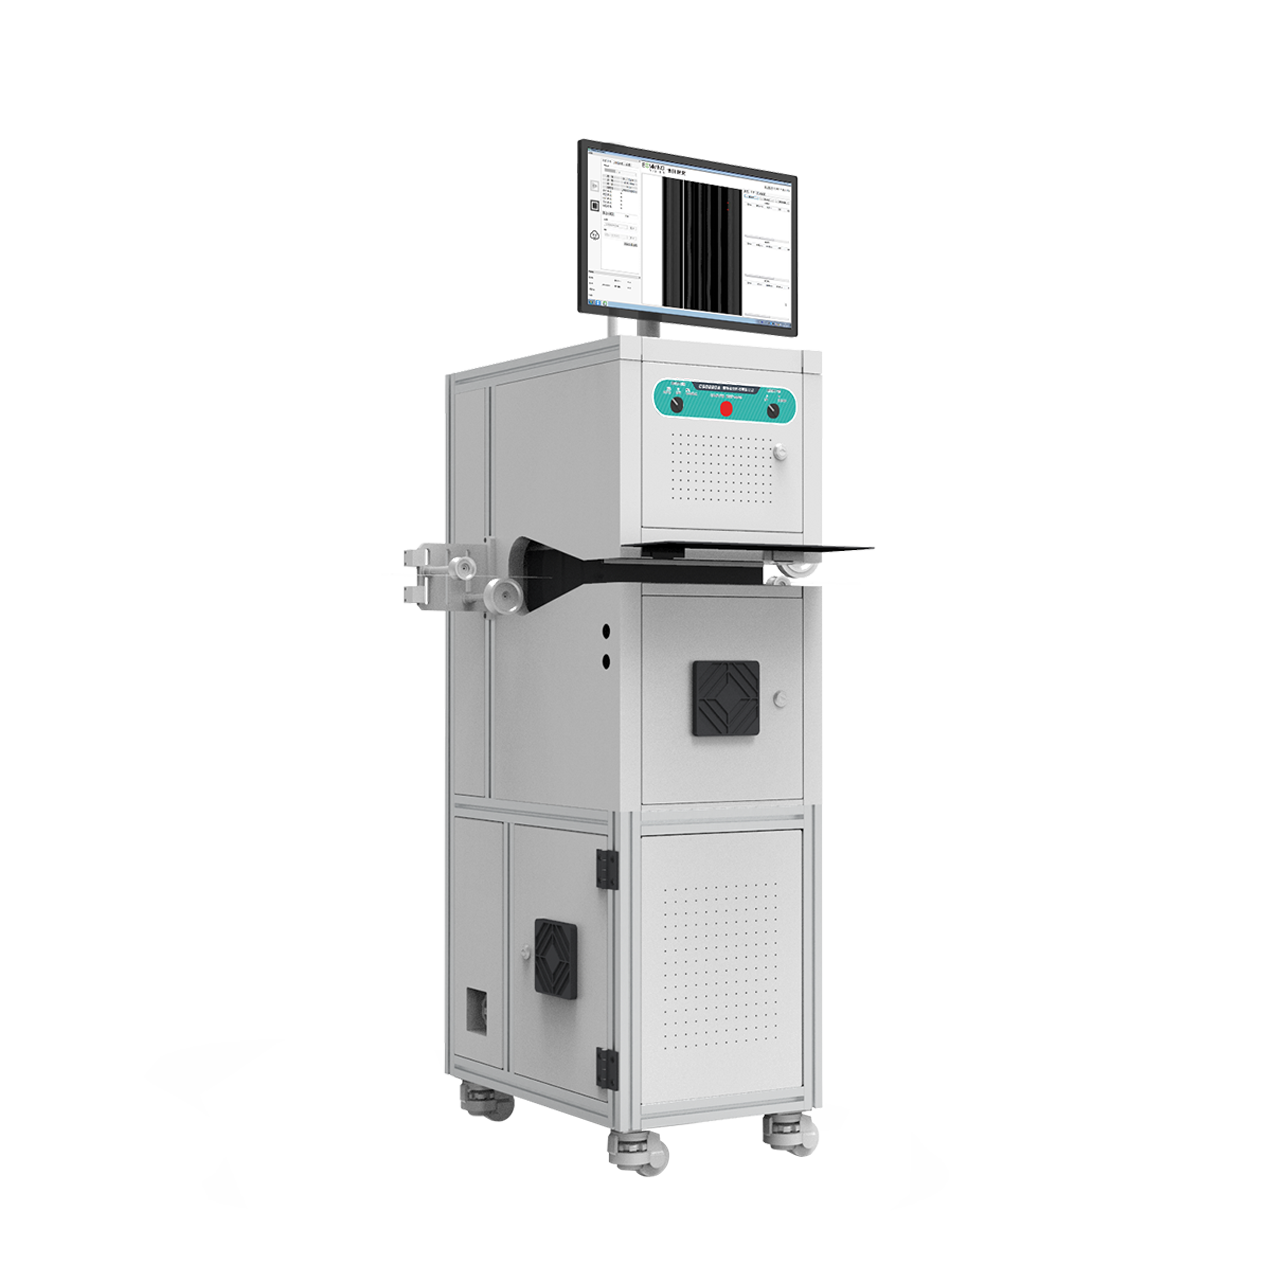
Standard surface defect detector
1. Real-time online monitoring of quality anomalies replaces manual re-inspection, reducing redundant processes;
2. High-speed line scan cameras are used, with a maximum matching speed of 150m/min, which is the basis for achieving high-speed production and indirectly increases output;
3. The machine can act as a terminal to upload data to a central server or allow data to be read by MES systems, etc.;
4. It can serve as a server for other detection equipment (such as roughness meters, diameter measuring instruments, etc.) for data storage and visualization;
5. It can be equipped with our company's defect marking module to assist in locating defects and improving repair speed;
6. AI algorithm software can be optionally equipped to achieve automatic defect classification.
Functional Scope:
1. Diameter change monitoring;
2. Surface defect detection of outer sheath;
3. Data query, traceability and quality reporting;
4. Alarm prompts;
5. Background communication with roughness meters, diameter measuring instruments, and inkjet printers;
6. Visualization of quality anomalies.
More +


